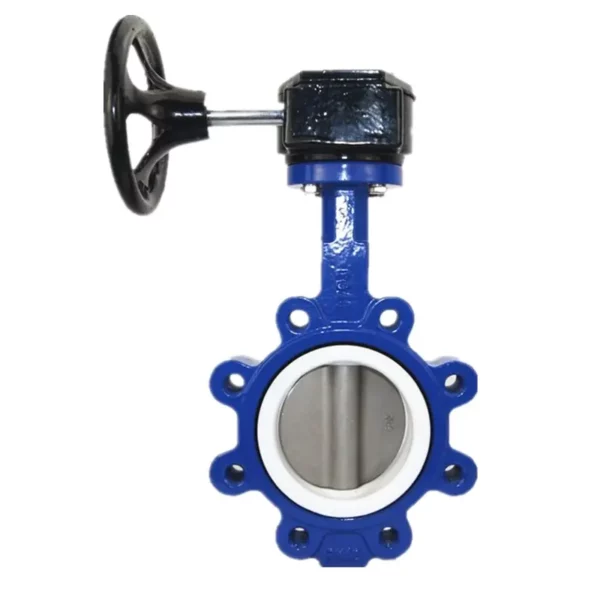
Troubleshooting issues with a lug type butterfly valve involves identifying and addressing problems that may arise during operation.
Here’s a systematic approach to troubleshooting common issues with a lug type butterfly valve:
- Identify the Problem: Begin by identifying the specific issue or symptom affecting the valve. Common problems include leakage, improper operation, sticking or binding of the disc, excessive wear, or malfunction of the actuator.
- Check Valve Position: Verify the position of the valve disc to determine whether it is open, closed, or partially open. Ensure that the valve is in the desired position based on the process requirements or control settings.
- Inspect for Leakage: Check for any signs of leakage around the valve body, flange connections, or seat area. Perform a visual inspection and, if necessary, conduct a pressure test to identify the source of leakage and its extent.
- Verify Operation: Operate the valve through its full range of motion to check for smooth operation and proper sealing. Pay attention to any sticking, binding, or irregularities in the movement of the disc.
- Check Actuator Functionality: If the valve is equipped with an actuator, verify the functionality of the actuator by operating it through its control mechanism. Ensure that the actuator responds properly to commands and provides sufficient force or torque to operate the valve.
- Inspect Sealing Surfaces: Examine the sealing surfaces of the valve disc and seat for any damage, wear, or deformation. Ensure that the sealing surfaces provide a tight seal when the valve is closed and that there are no gaps or imperfections that could lead to leakage.
- Inspect Shaft and Bearings: Inspect the shaft and bearings of the valve for signs of wear, corrosion, or misalignment. Ensure that the shaft rotates freely within the bearings and that there is no excessive play or wobble.
- Check Flange Connections: Verify the integrity of the flange connections, including the bolts or studs, gaskets, and alignment of the flanges. Tighten any loose bolts and replace damaged or deteriorated gaskets to ensure a proper seal.
- Review Operating Conditions: Consider the operating conditions, including fluid temperature, pressure, flow rate, and compatibility with the valve materials. Ensure that the valve is suitable for the application and that it is operated within its design limits.
- Consult Manufacturer Documentation: Refer to the manufacturer’s documentation, such as operation manuals, troubleshooting guides, and technical specifications, for guidance on addressing specific issues with the valve.
- Perform Maintenance and Repairs: Based on the findings of the troubleshooting process, perform any necessary maintenance or repairs to address the identified issues. Replace worn or damaged components, adjust settings, or recalibrate the actuator as needed to restore proper functionality.
- Test and Monitor: After performing maintenance or repairs, test the valve to verify that the issues have been resolved. Monitor the valve’s performance over time to ensure that it continues to operate reliably and effectively in the piping system.
By following these troubleshooting steps and addressing issues promptly, you can ensure the reliable operation and performance of a lug type butterfly valve in your piping system.
How do you troubleshoot issues with lug type butterfly valve?